rce-serialization-dotnet
Install and Configure Burp Suite Community Edition
This section covers how to install Burp Suite and configure it for use with a proxy and certificate.
Install and Launch Burp Suite
-
Download and install Burp Suite Community Edition. This also requires user registration at PortSwigger.
-
Launch Burp Suite. Community Edition allows only in-memory project. Click Next.
-
Leave Use Burp Defaults selected and click Start Burp.
Configure Proxy
-
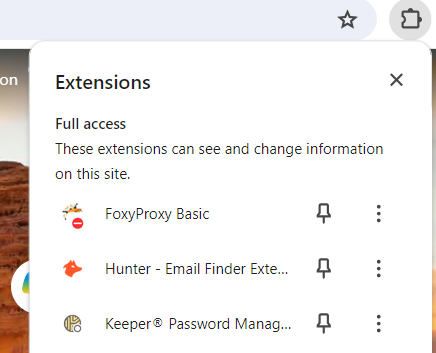
Add FoxyProxy Basic browser add-in for your preferred browser.
-
Launch FoxyProxy Basic.
-
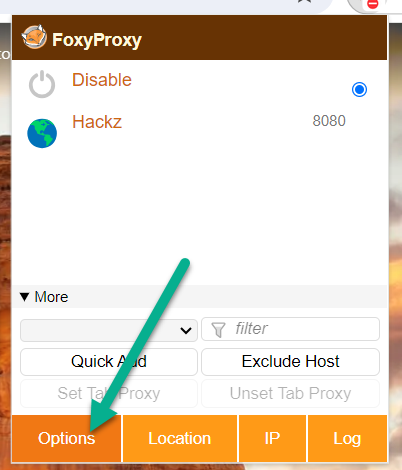
Select Options.
-
Add a proxy with the following settings and click Save.
Setting Value Description Title Hackerz Name of the proxy Hostname 127.0.0.1 Local host Port 8080 Default port for Burp Suite 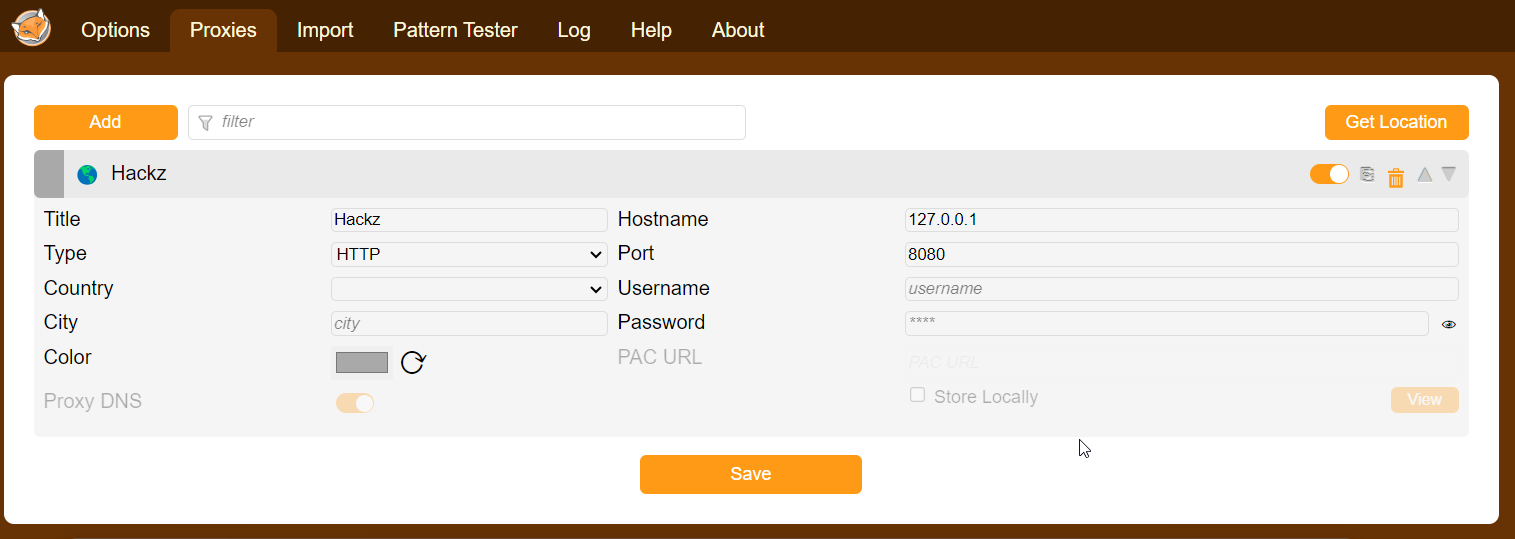
-
Enable the Hackerz Proxy. Browsing any non-local site will result in a “No Internet” connection error until Burp Suite is started. Select Disable when done with Burp Suite.
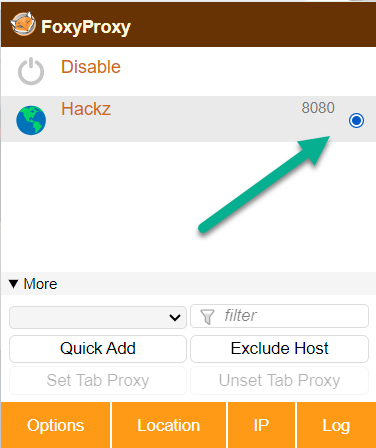
Configure the Burp Suite Certificate
-
Return to the browser with FoxyProxy Basic enabled and navigate to http://burpsuite.
-
Click CA Certificate. Save the certificate locally.

-
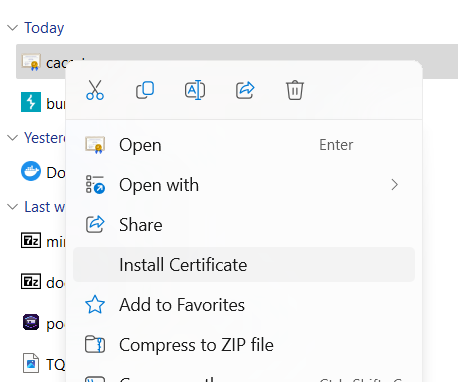
Right-click on the certificate in Windows Explorer and select Install Certificate.
-
Leave Current User selected and click Next.
-
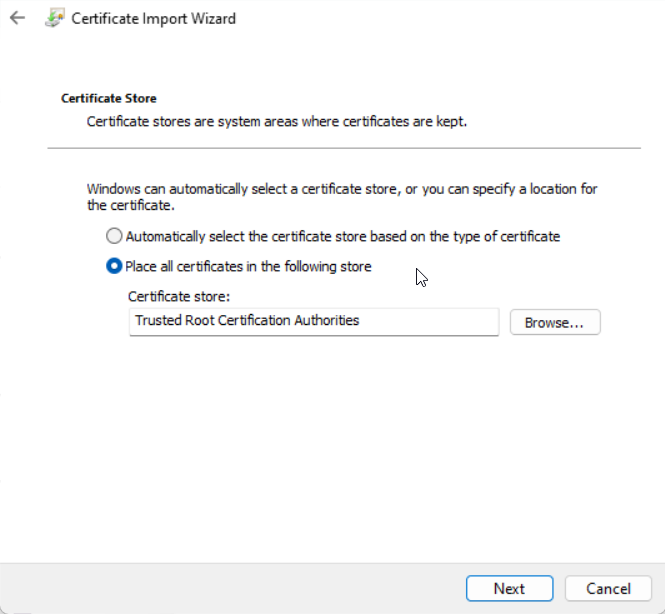
Select Place all certificates in the following store, click Browse and select the Trusted Certificate Authorities store. Click Next.
-
Click Finish.
Confirm Proxy Capture in Burp Suite
-
Return to the browser with FoxyProxy Basic enabled and navigate to https://demo.owasp-juice.shop/ or http://localhost:88 if running the container.
-
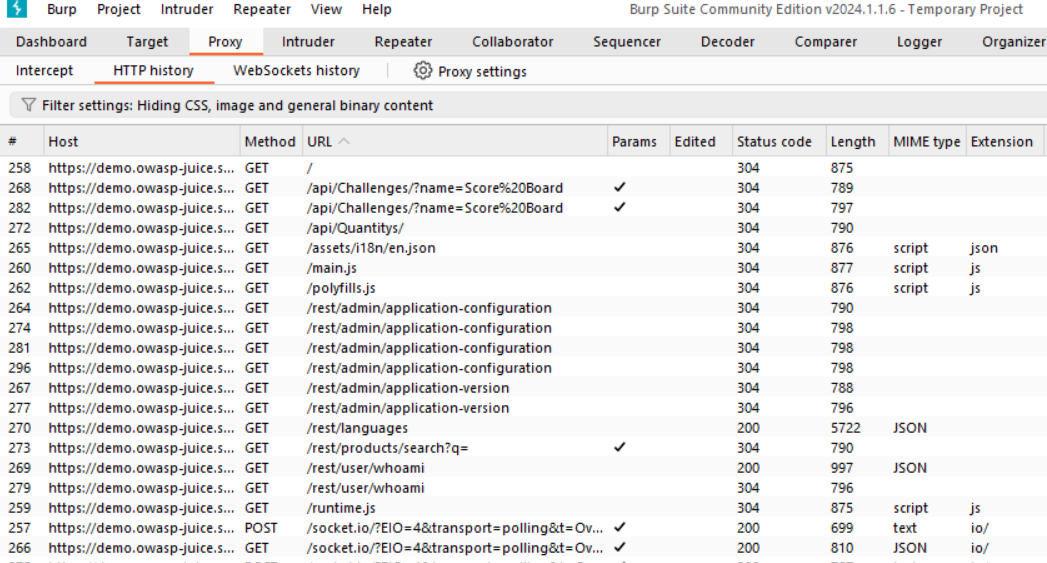
Return to Burp Suite and navigate to the Proxy HTTP History tab. This will show the requests and will be a launching point for penetration testing. 